Wednesday, May 25, 2011

Banana Pineapple Mango Green Smoothie


With the transition to toddlerhood, my 13 month old, who has always had a voracious appetite for absolutely anything I served him, has recently started testing his independence at mealtimes by being a little more picky with what he eats off his plate.  Most days he still eats like a champ, but on the days he doesn't, I just want a quick and easy way to knock out a day's worth of fruits and a good heap of greens.  Green Smoothies are always my answer, in one fashion or another.

Not too long ago I posted the first version of a Green Smoothie I served to my son, a Strawberry Banana Smoothie.  He was completely hooked at first sip, but I knew he would be...  I used 2 of his favorite flavors (strawberries and bananas) to entice him.  Now that he's used to the green smoothies, I figured it was time to try a different version and change things up a bit. 

This is what I came up with the other day while browsing the freezer and fridge to see what fruits and veggies I needed to use up, and the results were delicious!  In fact, I think my son loved this green smoothie version even more than the first one I served him.

I always serve green smoothies to my son using a Dr. Sears Smoothie Sipper (shown in photo above) because it has a wide straw that can accomodate thicker liquids, and I swear, he sees that thing now and he immediately gets excited!  It's like he knows something delicious is coming soon!  Whatever the case, he gulps down these smoothies (and all their nutrition) even faster than I can down them.

Banana Pineapple Mango Green Smoothie

Ingredients
  • 2 handfuls baby spinach
  • 3 Tablespoons ground flaxseed (optional, but oh so good for you)
  • 1/2 - 1 cup Vanilla Almond Milk (or any other milk; add more or less based on preferred consistency)
  • 1/2 cup vanilla yogurt (I prefer Oikos greek yogurt)
  • 1 ripe banana
  • 3/4 cup frozen pineapple chunks
  • 3/4 cup frozen mango chunks
  • 1/2 of an avocado (optional)
Directions
  1. Add all ingredients to a blender. 
  2. Mix until smooth, approximately 2 minutes, stopping to mix the ingredients down with a spoon as needed.  Serve immediately or refrigerate.
Notes:  I always use Vanilla Almond Milk in my smoothies because I like the sweetness and flavor it adds, but any milk will do.  You can easily adjust the amount of yogurt and/or milk used in this recipe in order to achieve your desired consistency.  Also, if none of your fruits are frozen, add a few ice cubes to thicken things up a bit.

    Wednesday, May 11, 2011

    Little Monkey Cupcakes


    For several months I had known exactly what theme I was going to choose for my son's recent 1st birthday party.  There was no doubt in my mind, it had to be monkeys. 

    It all began with a small monkey lovey blanket that he quickly grew attached to many months ago.  He absolutely adores the thing, cuddles and sleeps with it, and carries it all over the house.  As a result, we have acquired 5 of them (Mom wanted a little insurance)  and our little man has become a fan of all things "monkey".  In fact, we recently went to his cousin's birthday party where there was a HUGE display rack  full of at least 100 stuffed animal monkeys for sale.  As soon as we got in the door, we set him down and he was off and running straight for the rack of monkeys.  Every single time we set him down he kept going back to the rack, smiling and giggling the whole way, and grabbing one every time.  That being the case, I knew a monkey theme was sure to be the perfect fit for my little man's 1st birthday party.  And when my mom came across decorating instructions for monkey cupcakes, I knew I had to make them for his party.  They were definitely a bit time-consuming, but oh so totally worth it for my little one's big day.  They were almost too cute to eat!

    Little Monkey Cupcakes

    Ingredients

    • baked and cooled cupcakes (any flavor)

    • chocolate frosting

    • vanilla/buttercream frosting

    • brown candy-coated chocolate pieces (i.e., plain M&Ms, Reeses Pieces) 

    • mini semisweet chocolate chip morsels

    • chocolate sprinkles

    • 2 zip-locking bags or cake piping bags and tips


    Directions

    1. Spread a thin layer of dark brown (chocolate) frosting on each cupcake and let stand for 10 minutes.

    2. Mix 2 tablespoons chocolate frosting with 6 tablespoons vanilla/buttercream frosting to make the light brown frosting.

    3. Fill a plastic zip-locking bag with the light brown frosting and snip a small corner.  Using the snipped corner, pipe 2 circles for the eyes and a large circle underneath for the facial area.  Smooth lightly with a toothpick or angled spatula.  Then pipe a triangular patch at the top for a small tuft of hair.

    4. Place a brown candy-coated chocolate piece on each side for ears, using a dot of dark brown frosting to help them adhere.

    5. Apply 2 mini chocolate morsels for the eyes and 1 chocolate sprinkle for the nose.

    6. Fill a zip-locking bag with dark brown (chocolate) frosting  and snip off a very small corner.  Using the snipped corner, pipe a thin line of the dark brown frosting for a mouth.


    *Decorating instructions from the magazine Sandra Lee Semi-Homemade, May/June 2011 edition.

    Thursday, May 5, 2011

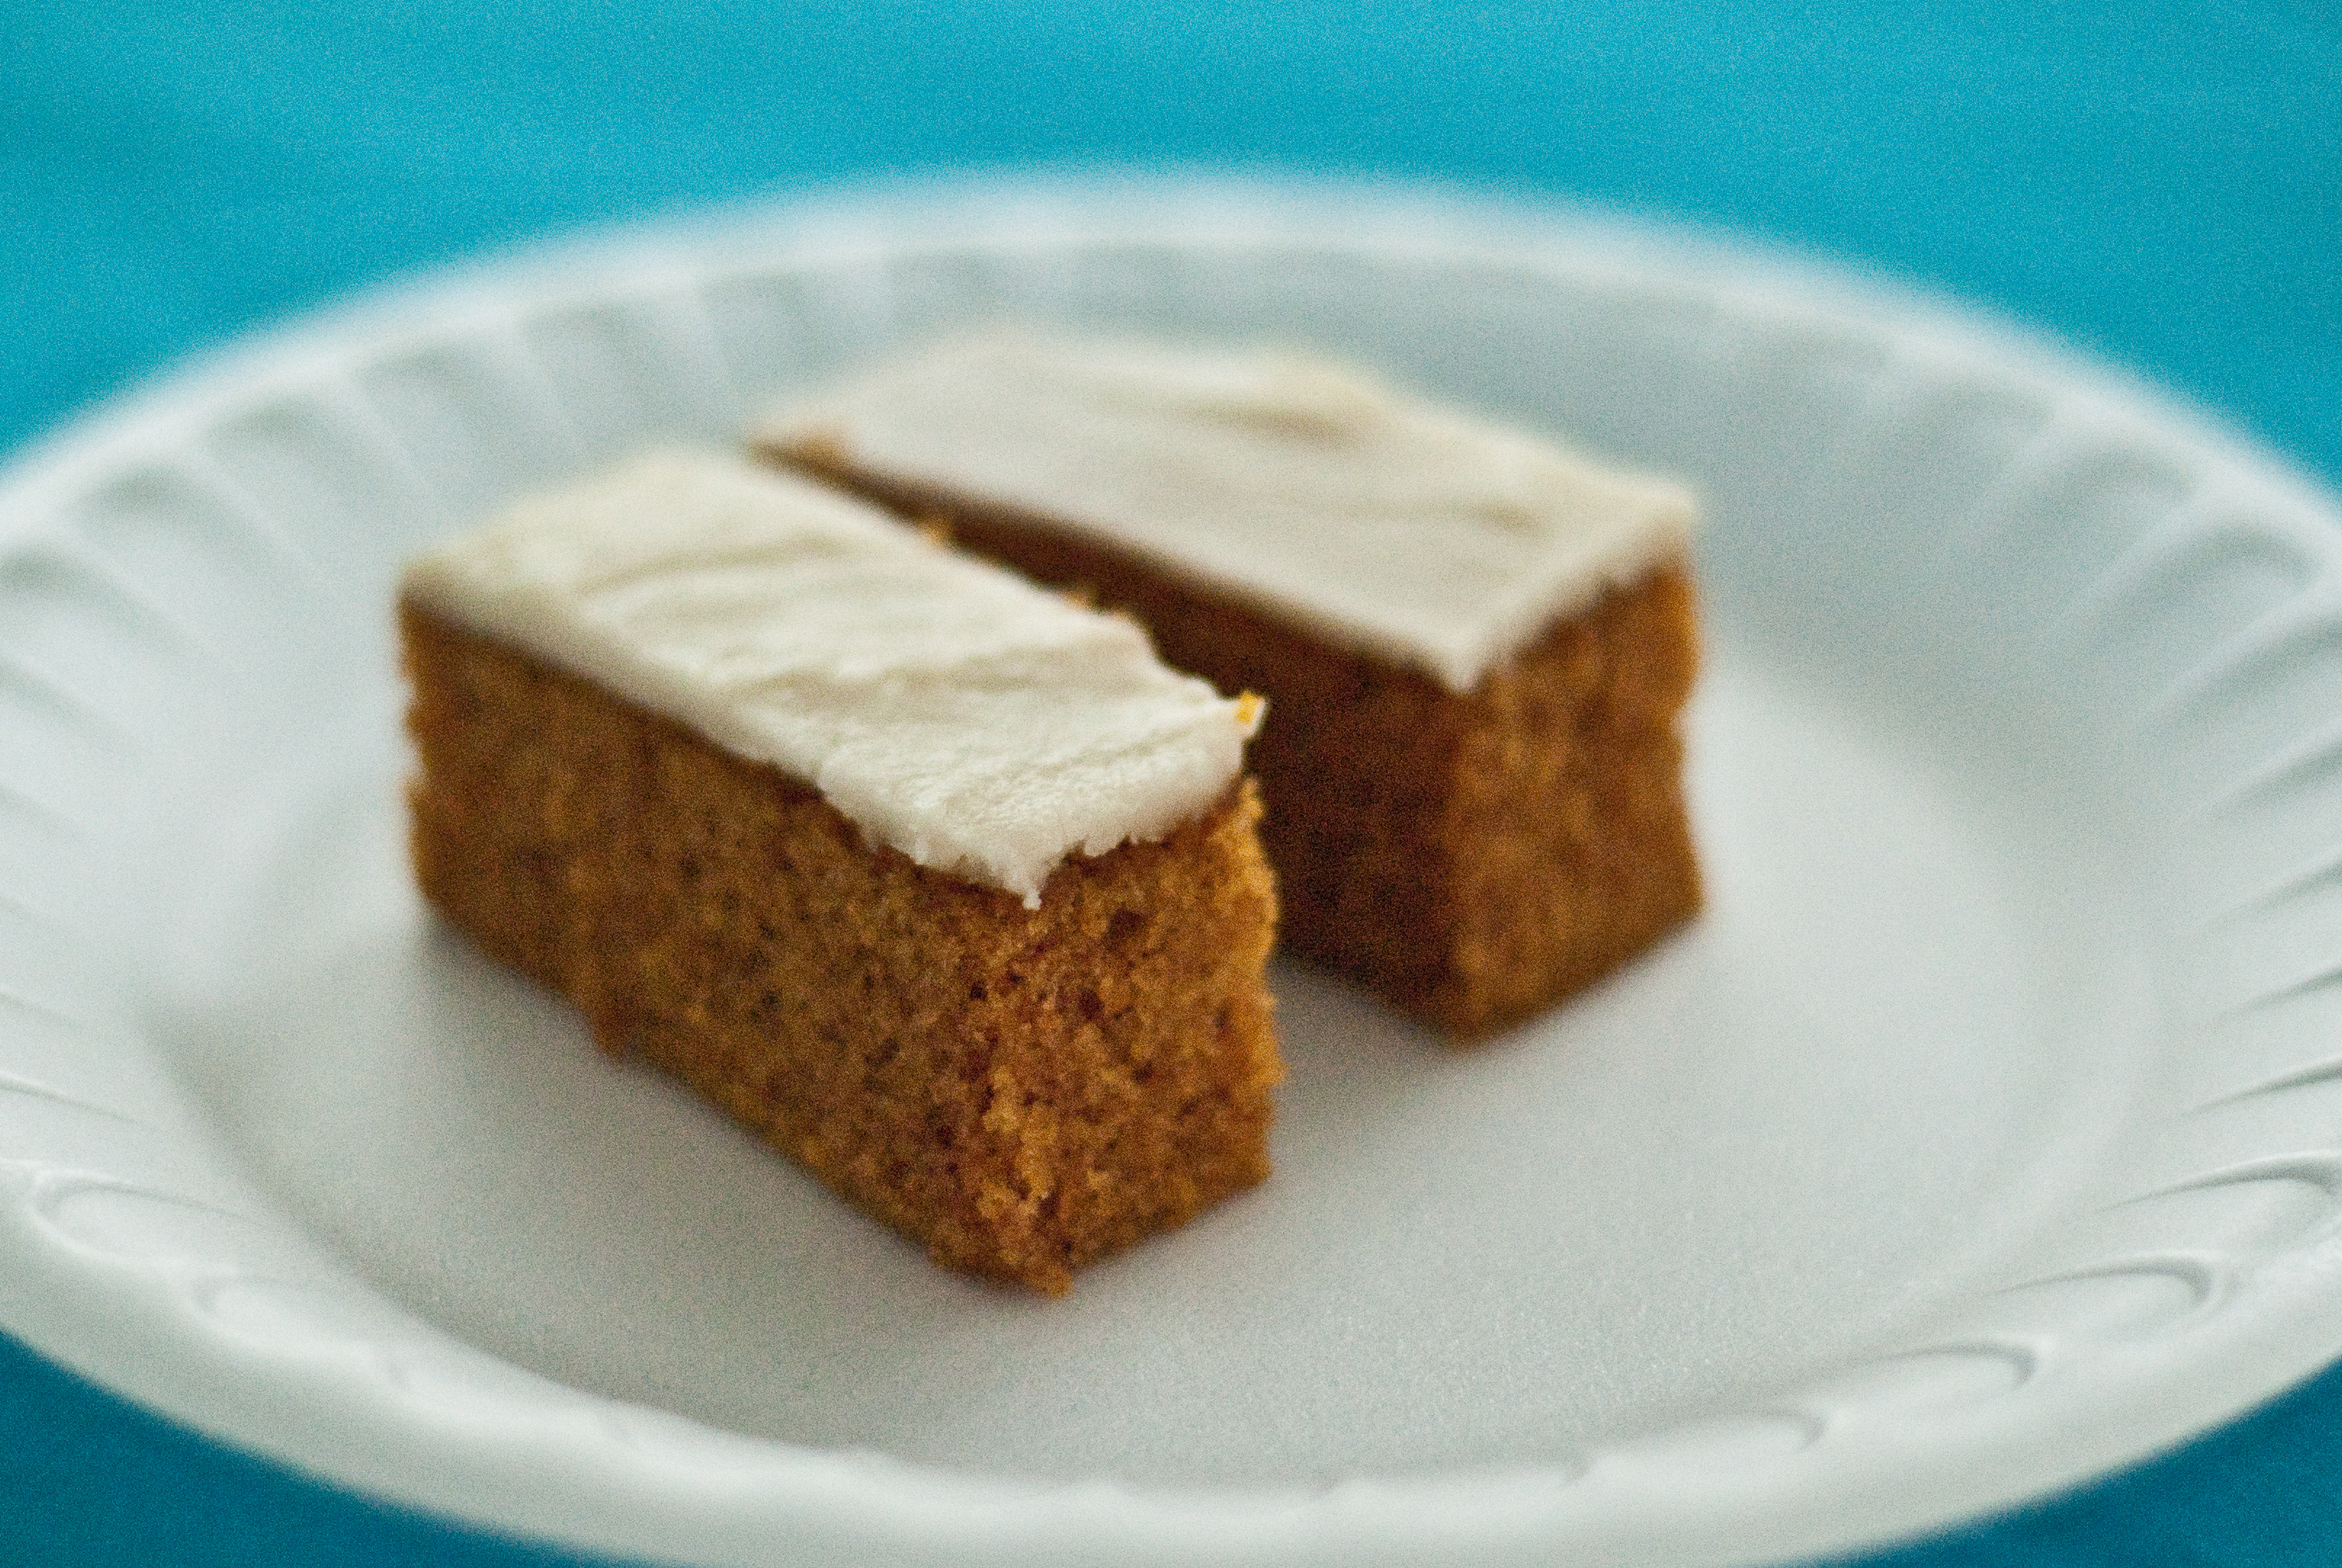
    Mom's Carrot Cake


    This, my friends, is the absolute mother load of all carrot cake recipes. 

    My mom has been making this cake ever since I can remember and has not attended a family function without it ever since.  In fact, it's probably the most requested of all her recipes.  I even requested this cake as my birthday cake at several of my birthday parties when I was a kid.  Yes, it's that delicious.  At my son's first birthday party last week my mom actually made TWO of these cakes just so we wouldn't run out!  Sure enough, the guests and I devoured the first and almost the entire second carrot cake at the party...and if you note the yield on this recipe at the bottom, you'll realize that's no small feat.

    This carrot cake is made as a sheet cake (yay for EASY!) and is so moist and light it practically melts in your mouth.  I've had other homemade carrot cakes and even fancy retaurant versions, yet no matter how someone else makes it, or how they spice it, it just doesn't compare to this one.  You must, must, must try this recipe.  Even if you don't (think you) like carrot cake.

    I think my friend summed up these carrot bars quite perfectly at my college graduation party several years ago when he said, "They're like little pieces of heaven."

    Mom's Carrot Cake

    Cake

    • 2 cups flour

    • 2 cups sugar

    • 1 teaspoon salt

    • 2 teaspoons baking soda

    • 2 teaspoons cinnamon

    • 1 cup vegetable oil

    • 4 large eggs

    • 4 (4 oz.) jars of baby food carrots (2nd stage)


    1. Preheat oven to 350 degrees. 

    2. In a large mixing bowl, mix together first 5 ingredients (flour, sugar, salt, baking soda, and cinnamon).  Add vegetable oil and eggs.  Mix well and add baby food carrots.  Beat for 2 minutes with electric mixer (or until smooth). 

    3. Grease and flour the bottom and sides of a 12 x 18 x 1 inch cookie sheet (shake pan over sink to shake off any extra loose flour). 

    4. Pour batter into pan and bake for 30 minutes at 350 degrees.  Cool completely before frosting.


    Frosting

    • 1/2 stick butter, softened

    • 4 oz. cream cheese, softened

    • 1/2 teaspoon vanilla extract

    • 2 cups powdered confectioners sugar


    1. In a small mixing bowl, soften butter and cream cheese at room temperature until soft enough to mix easily with a spoon.  Mix until creamy.  Add vanilla extract and mix well.  Add powdered sugar and continue mixing until creamy.  Spread frosting over cooled carrot cake with a spatula. 

    2. Cut into bars and keep refrigerated.


    Yield:  72 - 1" x 3" bars

    *Recipe courtesy of Mom.

    Tuesday, May 3, 2011

    Salmon in Lemon Brodetto with Pea Puree

    My now ONE year old (Yikes!  How did that happen?!) has been a fish lover ever since his first bite.  In fact, he will eat salmon over everything else on his plate when give the chance.  That being said, fish has become a regular weekly meal in our house, so I'm always on the hunt for new and delicious recipes to try.  And this, my friends, is most definitely a keeper.  Everything about it absolutely, positively screams "Spring!"  The sauce is delicate and scented with lemon, while the peas are laced with a refreshing hint of mint.  Together they make the perfect pairing for a heart healthy filet of salmon. 

    This meal is so refreshing, and it livened up my rotation of weekly "go to" fish recipes.  It came together pretty quickly and my entire family cleaned their plate.  In fact, my almost 1 year old kept asking for more and more salmon.

    This recipe is now sitting pretty at the top of my rotation of fish recipes, tied of course with my other favorite, Panko Crusted Salmon.  So if you're looking for something just a tad bit different from your ordinary fish recipe, then you most definitely will want to give this one a shot.  I'm already planning to make this one again! 

    Salmon in Lemon Brodetto with Pea Puree

    Ingredients

     Lemon Brodetto:
    • 2 tablespoons olive oil
    • 1 shallot, diced
    • 2 lemons, juiced
    • 1 lemon, zested
    • 2 cups chicken broth
    • 1 tablespoon chopped fresh mint leaves

    Pea Puree:
    • 2 cups frozen peas, thawed (about 10 ounces)
    • 1/4 cup fresh mint leaves
    • 1 clove garlic
    • 1/2 teaspoon kosher salt
    • 1/2 teaspoon freshly ground black pepper
    • 1/4 cup extra-virgin olive oil
    • 1/2 cup grated Parmesan

    Salmon:
    • 1/4 cup olive oil
    • 4 (4 to 6-ounce) salmon filets
    • salt and freshly ground black pepper

    Directions
    1. Lemon Brodetto:  Heat the oil over medium heat in a medium saucepan.  Add the shallots and saute until tender, about 7 minutes.  Add the lemon juice, zest, and broth.  Bring to a simmer, and keep warm, covered, over low heat.
    2. Pea Puree:  In a food processor, combine the peas, mint, garlic, salt, and pepper.  Puree until combined.  While the processor is running, add the olive oil in a steady stream drizzle and puree until desired consistency is reached (I stopped when mine was about the consistency of a thick pesto).  Transfer to a small bowl and add the parmesan cheese.  Mix until combined and set aside.
    3. Salmon:  Heat the oil over high heat in a large skillet.  Season the salmon with salt and pepper to taste and add to the hot skillet.  Sear until a golden crust forms, about 4 to 5 minutes on the first side.  Flip and continue cooking until salmon is opaque and flakes easily, about 2 more minutes depending on the thickness of the fish.
    4. To assemble:  Add the tablespoon of chopped fresh mint to the Lemon Brodetto sauce and divide between 4 shallow dishes.  Place a large spoonful of Pea Puree in the center of each bowl, and top with a salmon filet.  Serve immediately.

    *Slightly adapted from foodnetwork.com.

    Monday, May 2, 2011

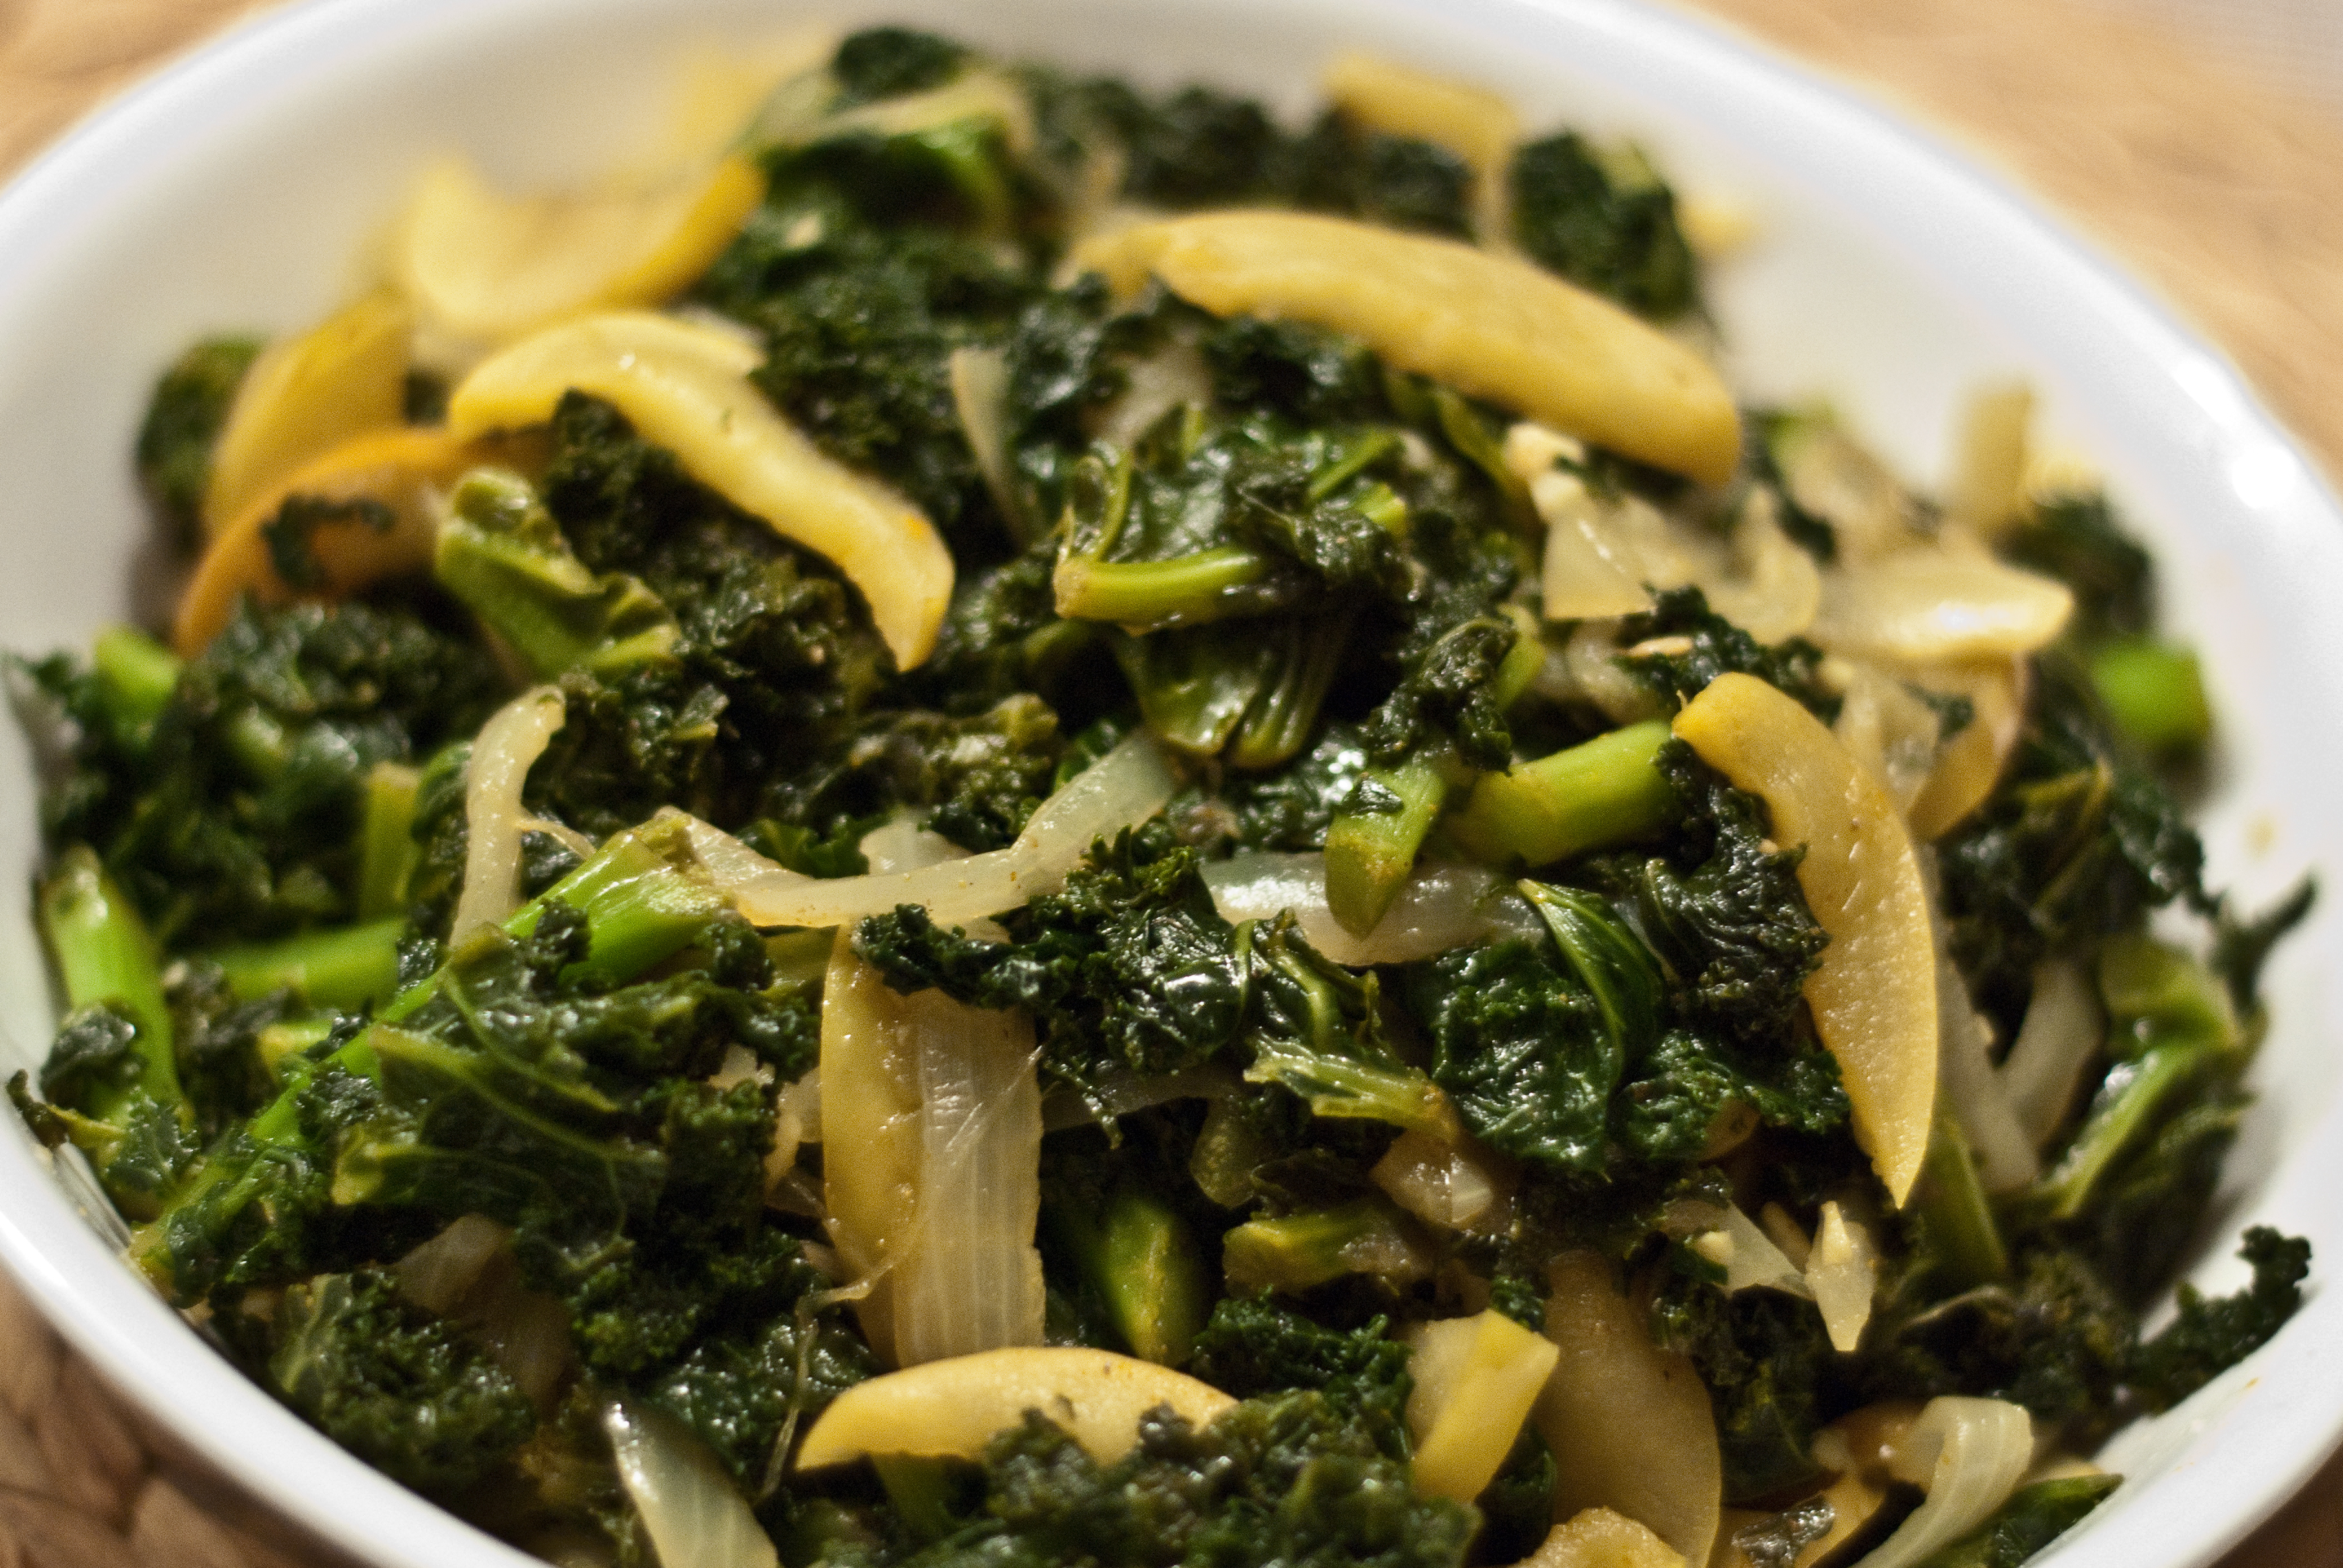
    Sauteed Kale with Apple and Onion

    I've never been a big "greens" eater.  In fact, I usually end up having to disguise them in a Green Smoothie just to eat them.  But when I saw my humongous bag of kale quickly approaching the expiration date, and I'd already made a week's worth of green smoothies with the stuff, I decided to give cooked kale another shot.  And I'm so glad I did!  The sweet curried apples and onions complimented the kale wonderfully and the result was a side dish I will gladly make often.  Even I, a person who doesn't even like the often raved about Kale Chips, ate a whole bowl of this stuff. 


    Sautéed Kale with Apple and Onion

    Ingredients

    • 2 tablespoons olive oil

    • 1 medium onion, finely chopped*

    • 2 cloves garlic, minced

    • 1 Tablespoon curry powder

    • 1 Tablespoon apple cider vinegar

    • 1 lb kale, tough stems and ribs removed and leaves coarsely chopped

    • 1/2 cup water (or 1/2 cup chicken/vegetable broth)

    • 2 Granny Smith apples, chopped*

    • salt and freshly ground black pepper, to taste


    *My photo shows the apples and onions sliced.  I think chopping them would add a better texture and incorporate the flavors throughout the dish even better than if sliced.

    Directions

    1. Heat the oil in a 5-quart pot set over medium high heat until hot.  Then add the garlic and onion and cook, stirring occasionally, until onions are translucent.  

    2. Add the curry powder, cider vinegar, water (or broth), and kale, and cook, covered, stirring occasionally, until kale is tender and most of the liquid is evaporated. 

    3. Add the chopped apples and cook, while stirring, until the apples are just starting to turn tender, about 2 minutes.

    4. Season with salt and freshly ground black pepper to taste.


    *Adapted from epicurious.com.
    Related Posts Plugin for WordPress, Blogger...